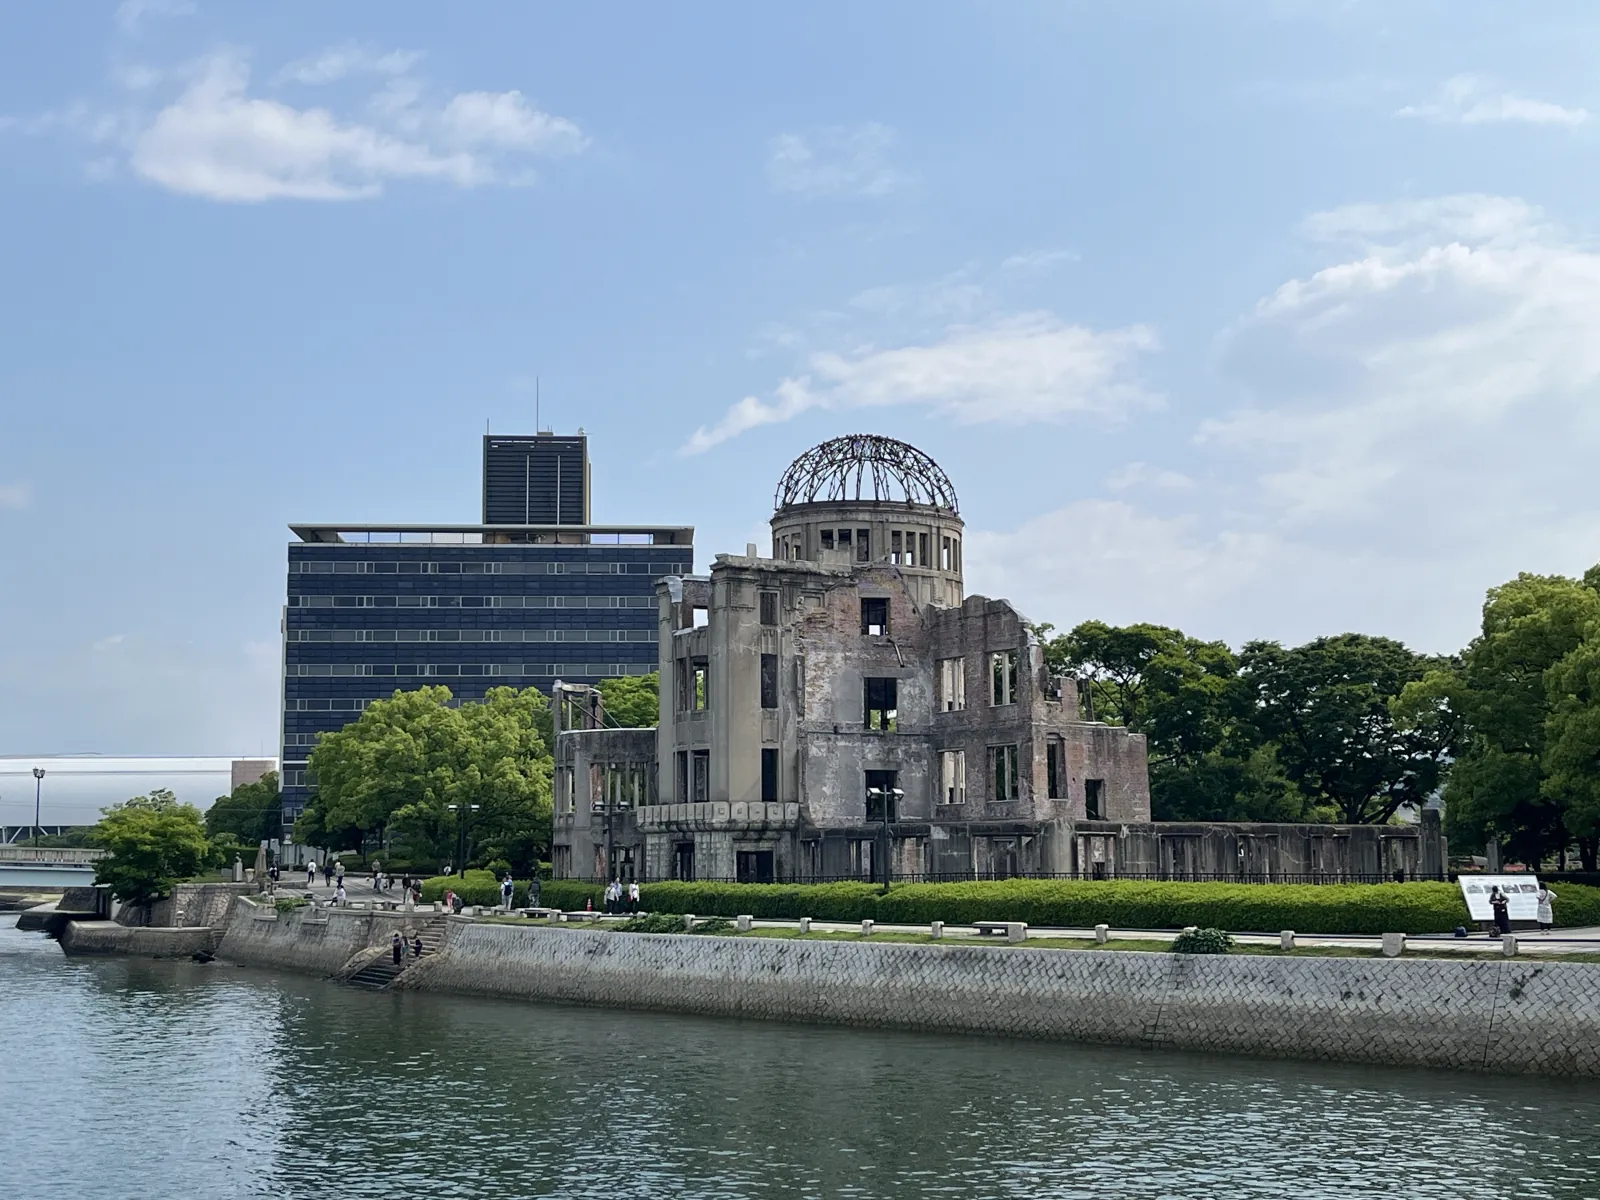
Most significant ruins exist because destruction was partial—a fire that missed one wing, a siege that left one wall standing, a flood that spared the higher ground. The Atomic Bomb Dome in Hiroshima survived for a different reason, and understanding that reason changes how you look at what is left.
At 8:15 AM on August 6, 1945, the atomic bomb detonated approximately 600 meters above the Shima Surgical Clinic, 160 meters southeast of what was then the Hiroshima Prefectural Industrial Promotion Hall. At that proximity, the primary destructive force came almost directly downward. Buildings at the hypocenter were not pushed over by a horizontal pressure wave; they were compressed from above. The vertical loading, paradoxically, allowed the walls of the Industrial Promotion Hall—designed to resist lateral wind forces—to remain partially standing while the roof, the interior floors, and every person inside were destroyed instantly.
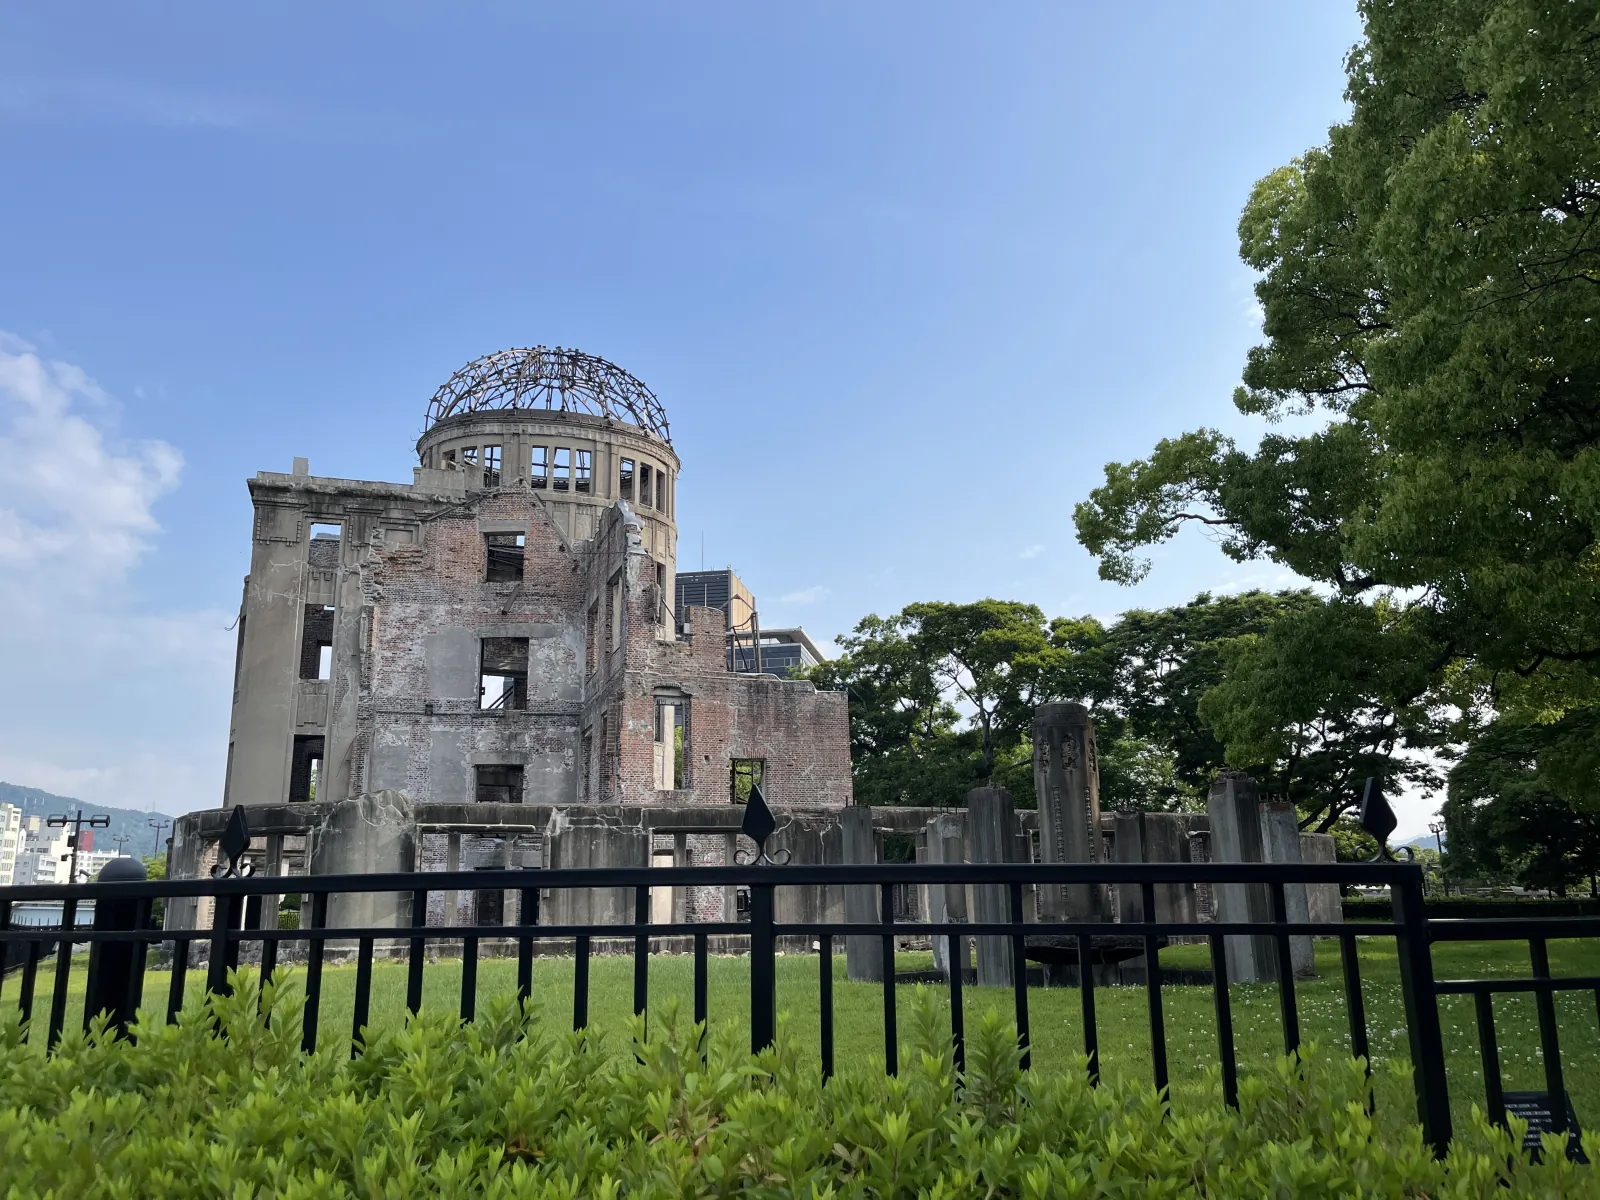
The dome-shaped cupola at the top of the building, which had been the architect’s signature element and the feature that gave the structure its visual identity, was gutted by fire and left as a skeletal iron frame. The brick walls below it, up to the third story, remained in position. The building was not preserved. It was simply not completely destroyed—and that distinction became the foundation of everything that followed.
The Building Before the Bomb: A Czech Architect’s Design in Meiji-Era Japan
The structure now known as the Atomic Bomb Dome was designed by Jan Letzel, a Czech architect working in Japan in the early 20th century, and completed in 1915. It was built as the Hiroshima Prefectural Commercial Exhibition Hall, later renamed the Industrial Promotion Hall. The neo-baroque design—copper-clad dome, ornate stone facade, large arched windows—was characteristic of European-influenced civic architecture from the Meiji and Taisho periods, when Japan was deliberately incorporating Western architectural forms into its institutional buildings.
The building served as the center of Hiroshima’s commercial and economic administration for three decades. It was considered one of the finest Western-style buildings in Hiroshima. When the bomb fell, it held offices and was occupied by approximately 30 people. None survived.
Letzel himself had left Japan by the time of the bombing and died in Prague in 1925, twenty years before the structure he designed became one of the most recognized buildings in the world.
The Geometry of the Blast
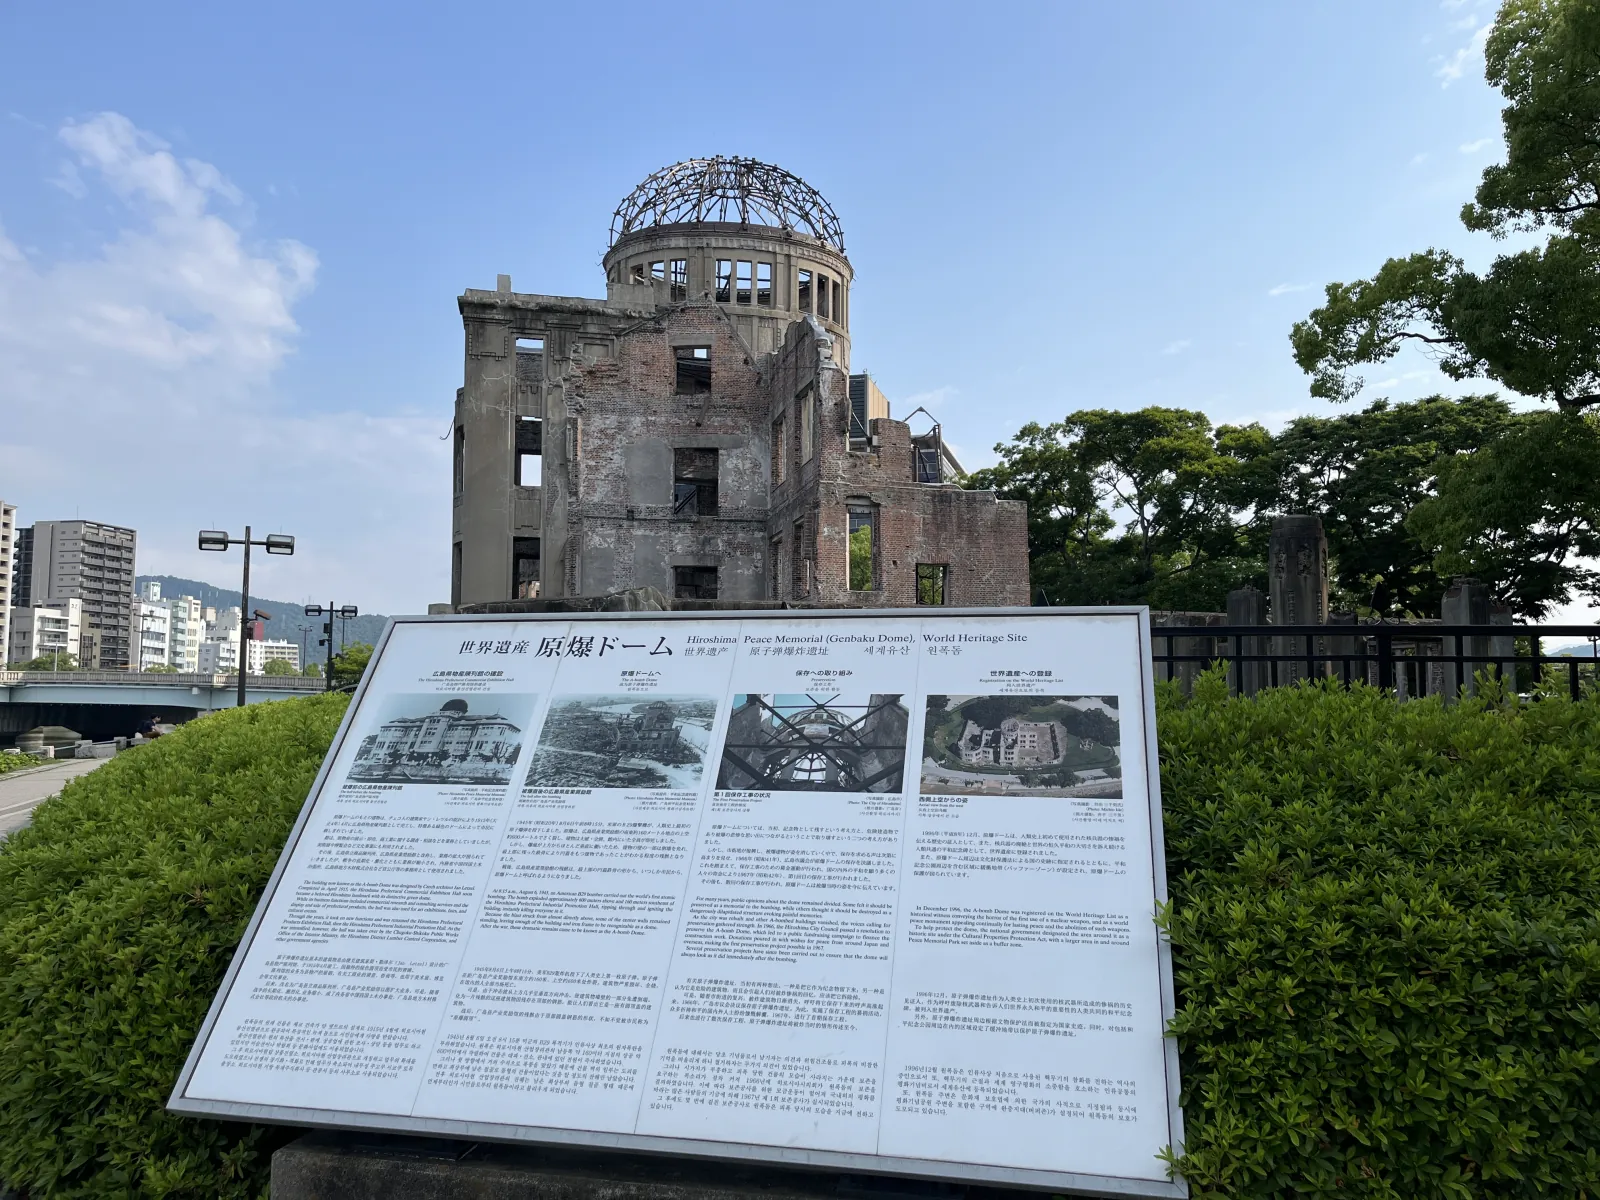
The precise geometry that preserved the dome’s walls is worth understanding in detail, because it is what separates the dome’s survival from mere luck.
The bomb’s hypocenter was 160 meters horizontal distance from the building. At a detonation altitude of approximately 600 meters, this means the angle of the primary pressure wave at the dome’s location was roughly 75 degrees from horizontal—close to vertical. Structural engineers analyzing the building after the war determined that the walls, designed to resist lateral (horizontal) loads from wind and earthquakes, were effectively being loaded in the direction they were built to withstand.
The result was partial preservation rather than the complete collapse that would have occurred if the building had been the same distance from a surface explosion. Buildings farther from the hypocenter—where the pressure wave arrived at a more horizontal angle—were often more completely destroyed than those at the dome’s near-vertical-loading distance.
The dome’s survival was, in this sense, a product of physics rather than chance. The building happened to be the right distance from the hypocenter to receive a load it was partially capable of bearing.
The Debate That Almost Demolished It
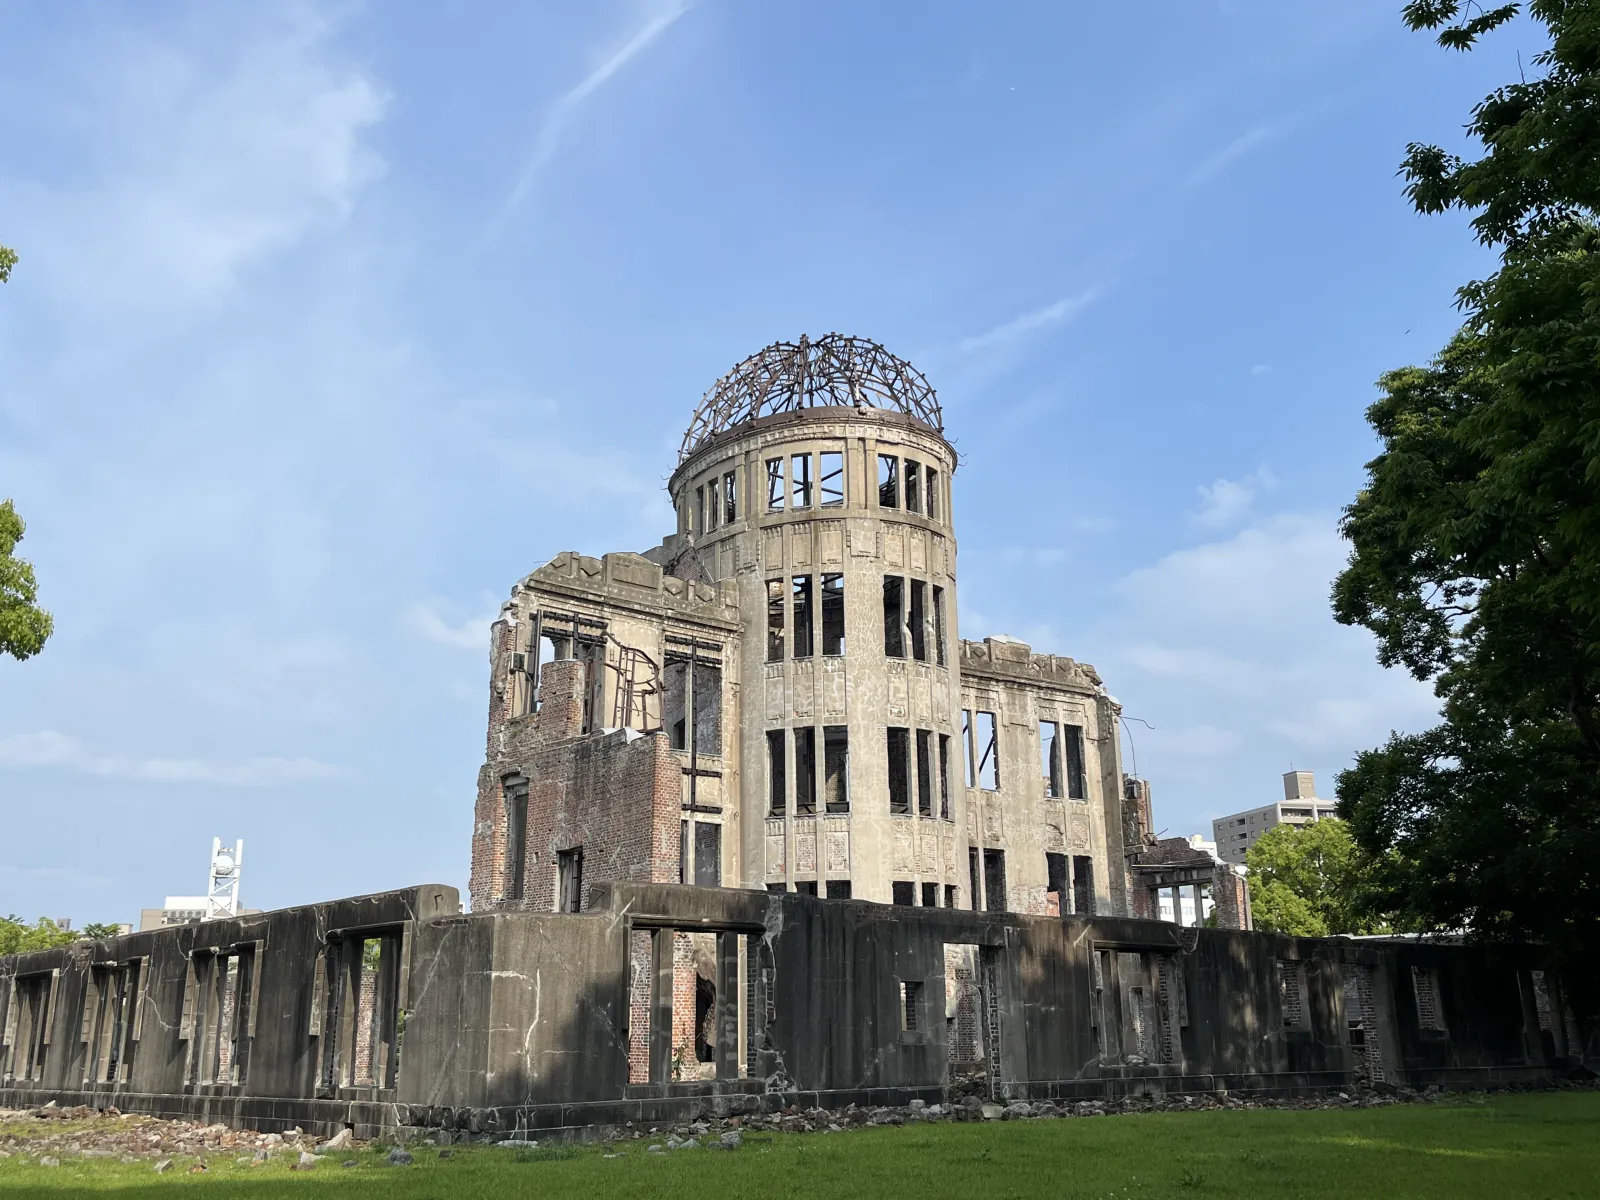
The decision to preserve the Atomic Bomb Dome was not obvious or immediate. For at least a decade after the bombing, the structure’s future was genuinely contested.
The argument for demolition was practical and emotional. The building was structurally unstable—the remaining walls and dome frame were deteriorating through normal weathering, and without intervention they would eventually collapse. The cost of maintenance and structural reinforcement was real. More fundamentally, many Hiroshima survivors did not want to look at the ruin daily. The building was not a monument; it was the physical remainder of the worst moment in the city’s history, and some people wanted the city’s recovery to include the removal of that remainder rather than its permanent installation.
The argument for preservation was made most forcefully by a group of Hiroshima city council members and international activists in the late 1960s, who argued that the ruin’s value as material testimony to nuclear weapons’ effects was precisely its justification for existence—that the physical evidence of what had happened here should remain physically present rather than be replaced by an abstraction.
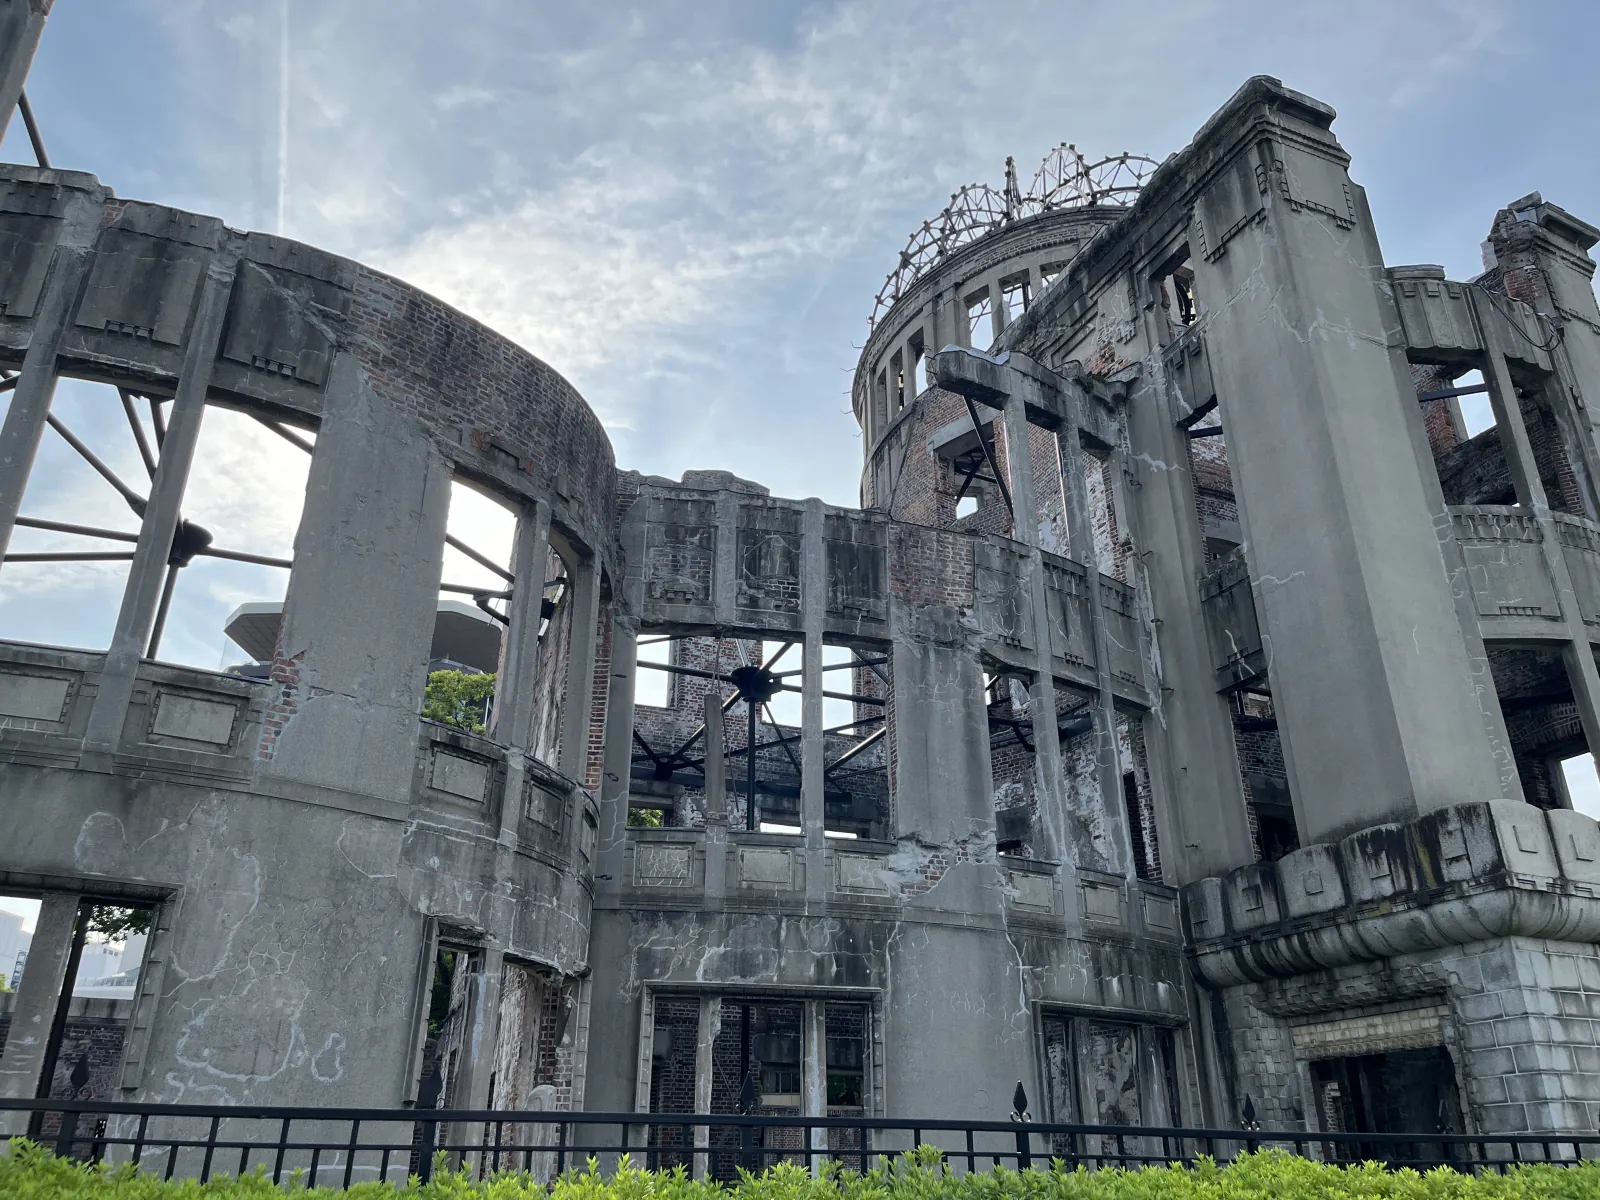
In 1966, the Hiroshima City Council voted to preserve the structure permanently. Structural reinforcement work has been carried out periodically since then to prevent further deterioration; the steel frame inside the brick walls, and the anchoring systems used to stabilize the remaining masonry, are among the most technically careful conservation projects in Japan.
The UNESCO World Heritage inscription in 1996 was not without controversy either—the United States and China both initially opposed the nomination, the US on the grounds that the site presented a one-sided view of World War II, China on the grounds that Japan had not adequately addressed its own wartime conduct in Asia. Both abstained from the vote rather than casting opposing votes. The inscription proceeded.
The Cenotaph Alignment: Architecture as Argument
Standing at the Cenotaph in Peace Memorial Park—the arched concrete monument approximately 300 meters south of the dome across the Motoyasu River—and looking north through the arch, the dome is framed in the arch’s opening. Between the Cenotaph and the dome stands the Peace Flame. The three elements are precisely aligned on a single axis.
This alignment was designed by architect Kenzo Tange in the original 1950 master plan for the Peace Memorial Park. Tange, who would later become one of the most internationally recognized Japanese architects of the 20th century, was a young professor at the University of Tokyo when he won the competition for the park’s design. His choice to organize the park around a north-south axis terminating in the dome was a statement about the dome’s function: not as a background element but as the park’s visual destination and organizing principle.
The arch of the Cenotaph is shaped to frame the dome precisely. This is not accidental proportioning—it is specific. When you stand at the Cenotaph’s bronze inscription and look through the arch, the dome’s skeletal cupola appears centered in the opening. The alignment means that every act of remembrance at the Cenotaph is simultaneously an act of looking at the dome—the material evidence of what is being remembered.
The Interior and What Is No Longer There
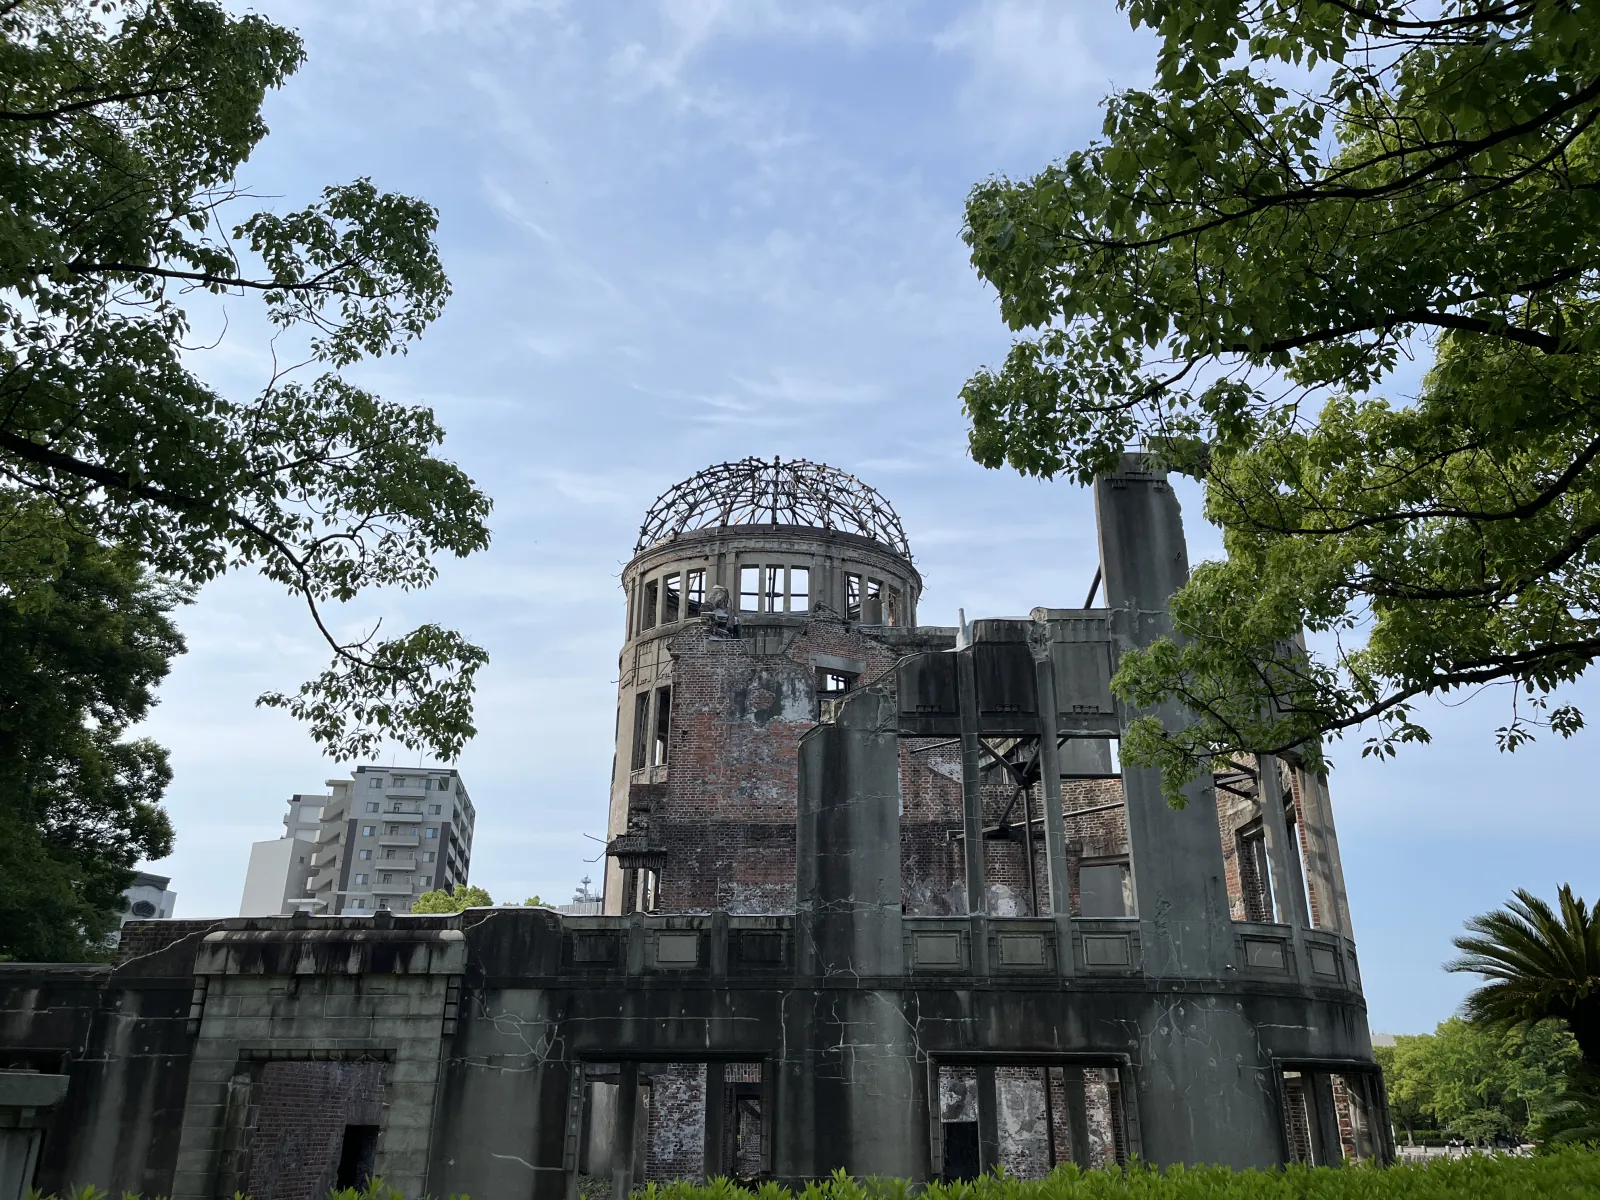
The Atomic Bomb Dome is not accessible for entry. The preservation status prohibits visitors from entering the perimeter of the surviving walls, both to protect the structure from additional wear and to maintain the visual integrity of the ruin.
What is visible from outside the perimeter fence: the skeletal dome framework overhead, the interior of the surviving brick walls, the exposed iron reinforcement where the walls have been maintained, the rubble fill at the base, and—most durably striking—the absence. The building once contained multiple floors of offices, a curved staircase, conference rooms, a formal exhibition space. None of these elements remain. What remains is the shell of the exterior walls and the dome frame, with the sky visible through the places where floors, ceilings, and roof panels no longer exist.
Walking the full perimeter of the dome on the path outside the fence provides views from four directions. The river-facing east elevation, visible from across the Motoyasu River, is the most reproduced view in photographs. The north elevation, facing the Aioi Bridge and the former hypocenter, provides the most direct sense of proximity to the blast center. The west elevation, seen from the Peace Memorial Park side, provides the view that aligns with the Cenotaph.
How to Visit: Practical and Attitudinal Considerations
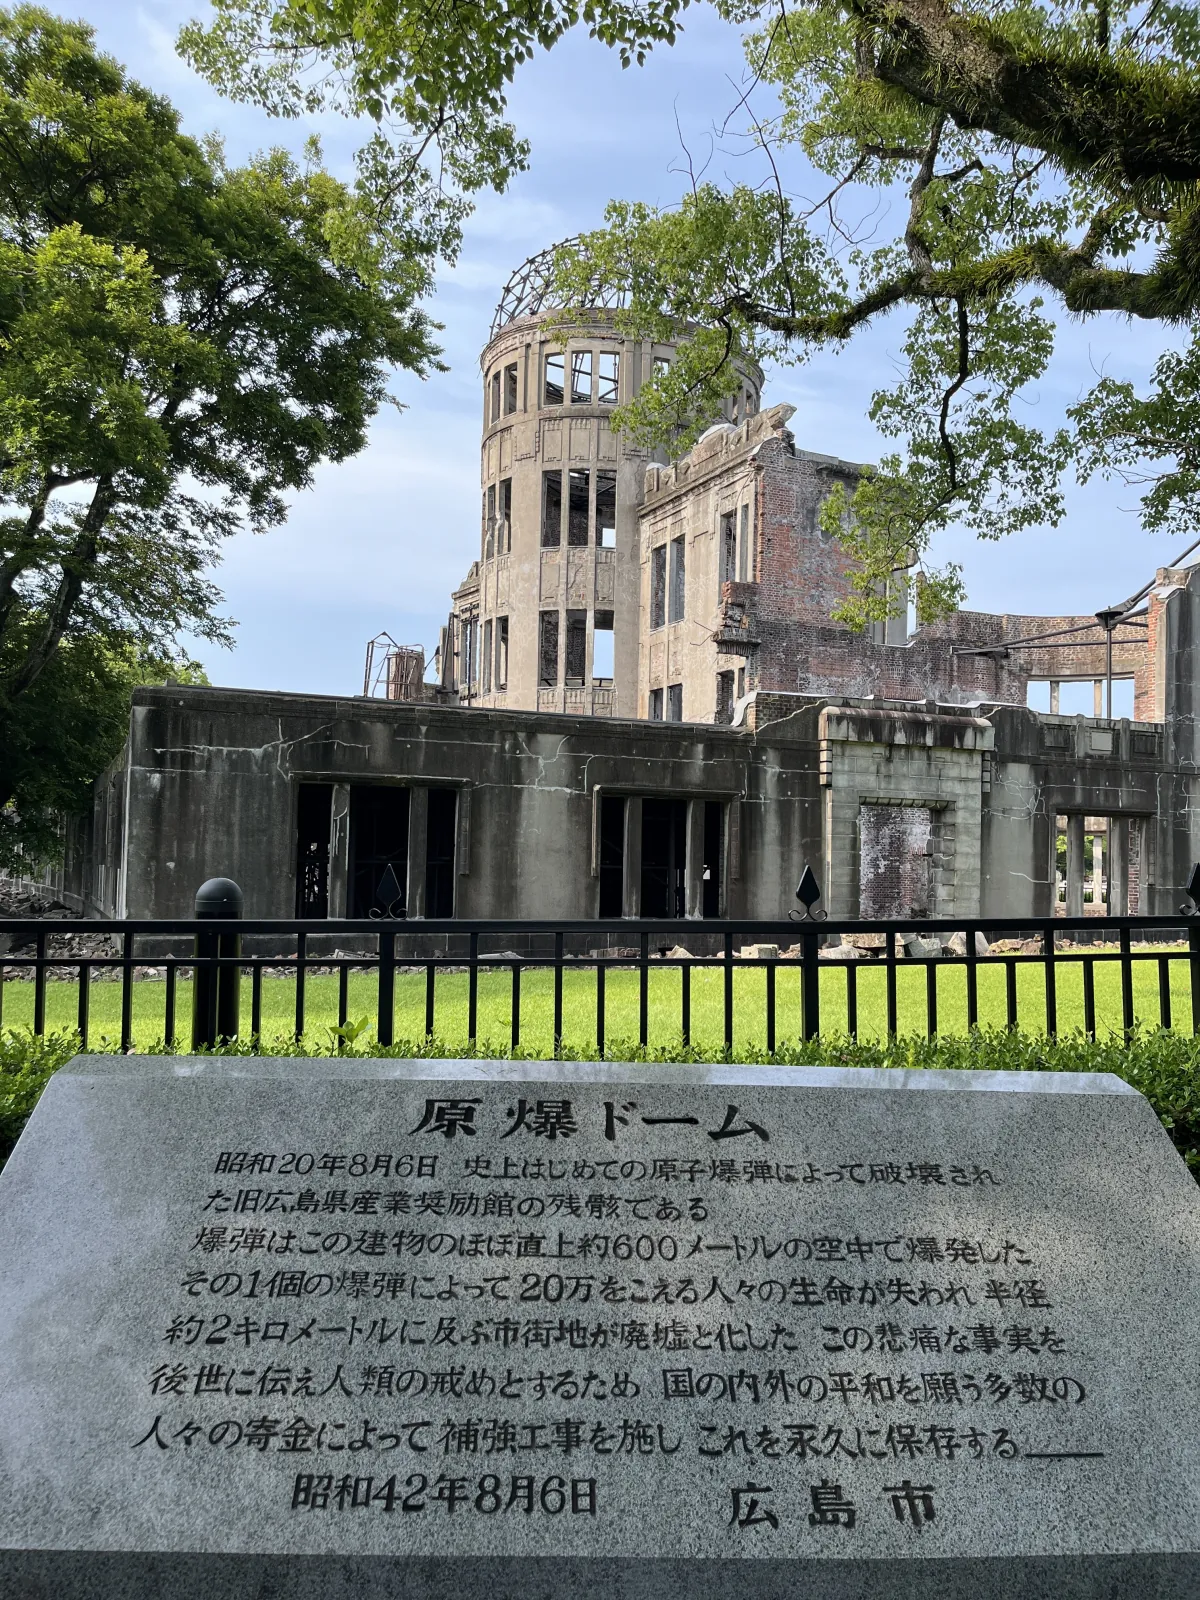
The dome is part of Peace Memorial Park and is accessible at all hours. There is no admission fee to approach the dome’s perimeter.
Before visiting the museum: If your visit includes the Peace Memorial Museum, go to the dome first, before the museum. The physical experience of standing in front of the ruin—without yet having seen the photographs, the artifacts, and the accounts inside the museum—has a different quality than approaching it after the museum’s more explicit documentation. The dome before the museum preserves a response to the physical reality; the museum then provides the historical framework. The sequence matters.
Photography: Photographs of the dome from the perimeter path and from across the river are taken freely and in large numbers. This is appropriate; the dome’s preservation is partly premised on its function as a visible reference point. Inside the Peace Memorial Park itself, photography is unrestricted except within the museum’s interior.
August 6: The anniversary of the bombing is marked with a formal ceremony in the Peace Memorial Park beginning at 8:00 AM. A moment of silence at 8:15 AM—the precise time of detonation—is observed citywide. The city is significantly more crowded on this date than at any other time; accommodation should be booked weeks in advance if visiting on or near August 6.
Aioi Bridge: Walking from the dome north across the Aioi Bridge provides the perspective of standing on the structure that American bombardiers used as their aiming point on August 6. The bridge is functional and publicly accessible. From its center, looking south, the dome is visible 160 meters to the left.
Practical Information
- Access: Hiroshima tram (Hiroden) to Genbaku-Dome-mae Station, approximately 15 minutes from Hiroshima Station; 5-minute walk from Peace Memorial Museum
- Hours: Accessible at all hours; no admission fee
- Peace Memorial Museum: 8:30 AM – 6:00 PM; ¥200 adults
- Photography inside museum: Not permitted; exterior and park photography unrestricted
- August 6 ceremony: Begins 8:00 AM in Peace Memorial Park; open to the public